
So, you’re wondering, “How do I get natural gas to my home?” The answer typically involves contacting your local natural gas utility provider and scheduling a natural gas connection. This guide will walk you through the entire process, from determining eligibility to turning on the gas.
Natural gas is a convenient and often cost-effective energy source for heating, cooking, and powering appliances. If your home isn’t currently connected to the natural gas grid, or if you’re considering a propane to natural gas conversion, this guide is for you. We’ll cover everything you need to know about getting a natural gas hookup cost, natural gas line installation, and the steps involved in natural gas service setup.
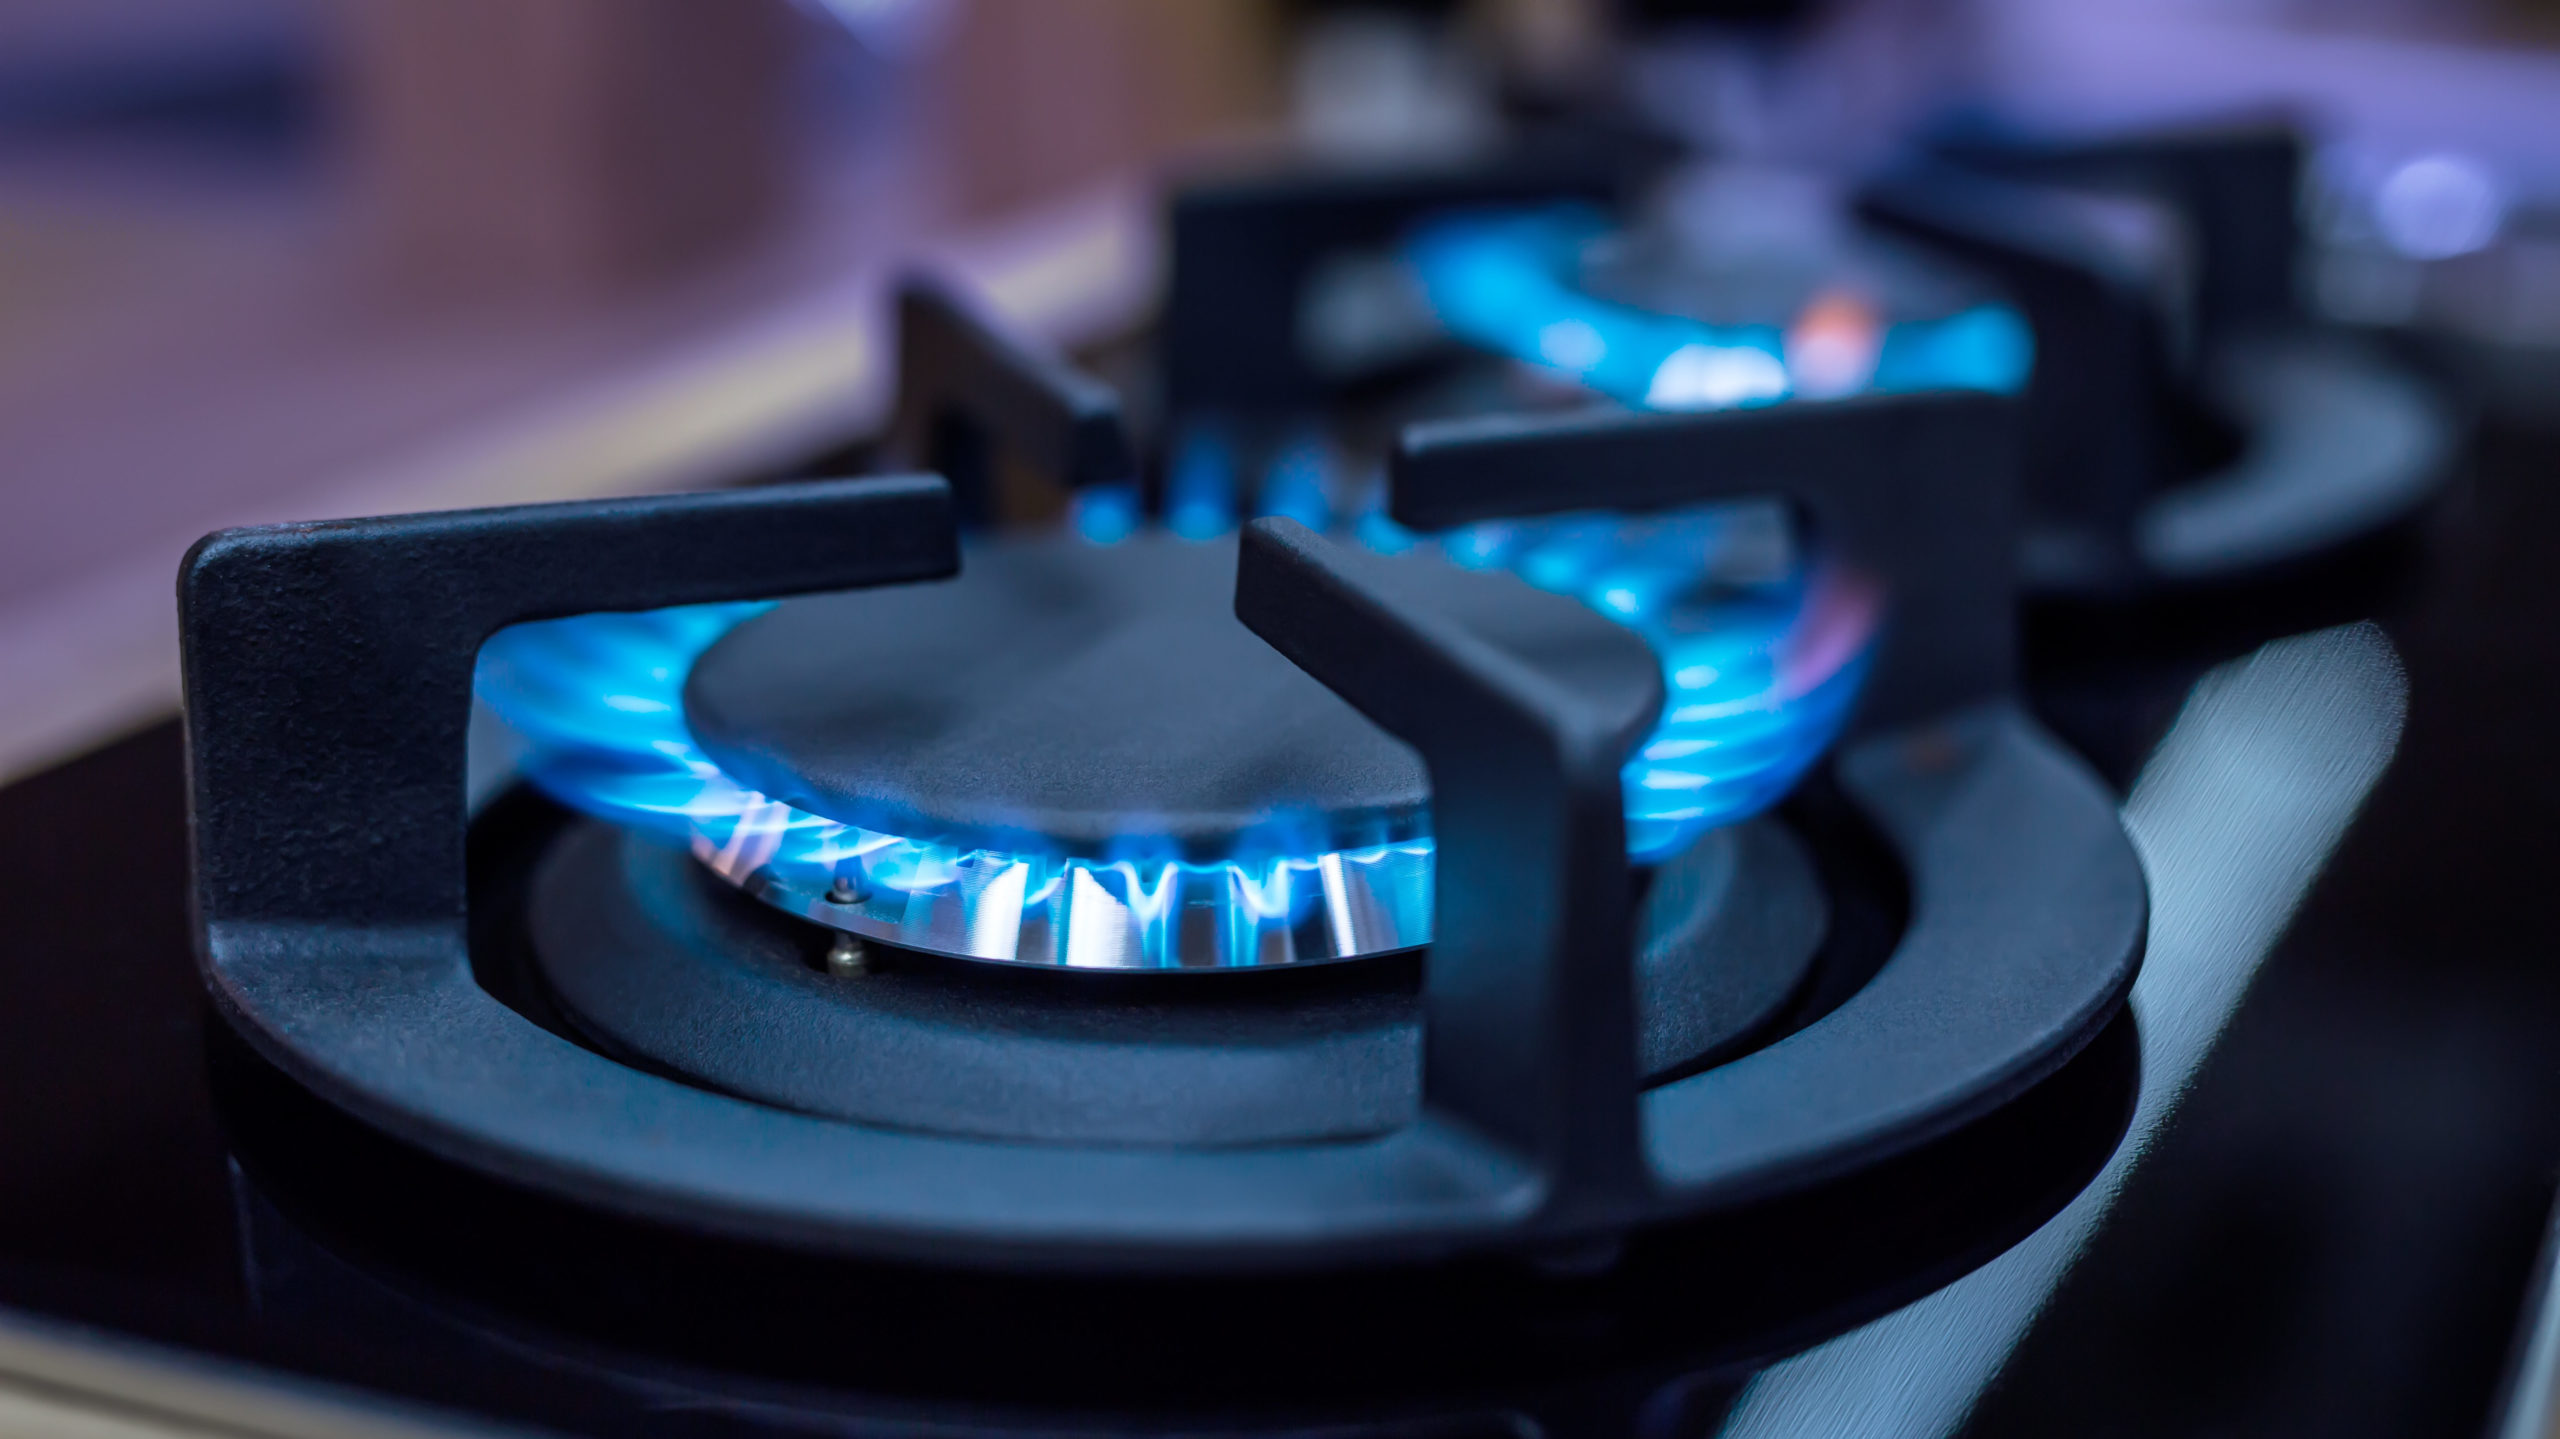
Image Source: fresh-energy.org
Is Natural Gas Available In My Area?
Before you can get natural gas, you need to confirm if it’s even an option. This is the very first and most crucial step.
Checking for Service Availability
Your local natural gas utility provider is the primary source of this information. They operate and maintain the network of pipelines that deliver natural gas.
How to Find Your Provider
- Online Search: The easiest way is to search online for “natural gas utility provider [your city/town]” or “[your state] natural gas companies.”
- Ask Neighbors: If your neighbors use natural gas, they can likely tell you who their provider is.
- Local Government Websites: Sometimes, municipal or county websites list the utility providers for their area.
Once you’ve identified your provider, visit their website or call their customer service line. They will have a system to check if your address is within their service territory and if a natural gas line installation is feasible.
Factors Affecting Availability
- Proximity to Existing Pipelines: The closer your home is to an existing natural gas line, the more likely service is available and the less expensive the gas line extension will be.
- Number of Potential Customers: Utility companies often prioritize extending service to areas with a higher concentration of potential customers, as it makes the investment more worthwhile.
- Local Regulations and Permits: Zoning laws and local ordinances can sometimes affect where new gas lines can be installed.
The Natural Gas Connection Process: Step-by-Step
Once you’ve confirmed availability, the actual process of getting connected begins. This involves several key stages.
Step 1: Initial Contact and Application
This is where you officially start the process of getting natural gas service setup.
How to Order Natural Gas
- Contact the Utility: Reach out to your identified natural gas utility provider. This is usually done via phone or through their website.
- Provide Your Information: You’ll need to give them your address, contact details, and possibly information about your property.
- Request a New Service: Clearly state that you are requesting a new natural gas connection.
- Discuss Requirements: The representative will explain their specific procedures, required documentation, and any initial fees.
What to Expect During the Call
- Service Area Confirmation: They will re-confirm that your address is within their service area.
- Information Gathering: They may ask about the type of appliances you plan to use (furnace, water heater, stove, dryer, etc.) as this can influence the size of the gas line needed.
- Scheduling a Site Visit (Sometimes): In some cases, they might schedule an initial visit to assess the feasibility of the natural gas line installation.
Step 2: Site Assessment and Planning
Before any digging begins, the utility company or a certified contractor will assess your property.
Assessing Your Property
- Utility Location: Existing underground gas lines, water pipes, electrical cables, and other utilities will be identified to prevent accidental damage during excavation. This is often done through a “call before you dig” service (like 811 in the US).
- Route for the Gas Line: The optimal path for the new gas line from the main street line to your home will be determined. This considers property boundaries, landscaping, and any structures.
- Meter Location: A suitable location for the gas meter will be chosen. This is typically on the exterior of your home, easily accessible for reading and maintenance, and a safe distance from windows, doors, and ignition sources.
Planning the Installation
- Permits: The utility company will handle obtaining any necessary permits from local authorities for the residential gas line installation.
- Materials: The type and size of pipe needed for the gas line extension will be determined based on the distance and expected gas flow.
Step 3: Natural Gas Line Installation
This is the core of the physical work to bring gas to your property.
The Installation Process
The natural gas line installation generally involves a few key steps:
- Excavation: Trenches are dug to lay the underground gas lines from the main service line in the street to your property. This can be done using specialized digging equipment or trenchless technologies like directional drilling, which minimizes surface disruption.
- Pipe Laying: The new gas pipes, usually made of durable plastic (like polyethylene) or coated steel, are laid in the trenches.
- Connection to Main Line: The new line is carefully connected to the existing natural gas main line. This is a critical step performed by trained professionals.
- Connection to House: The line is brought to the planned meter location and connected to the piping system inside your home.
- Backfilling and Restoration: Once the pipes are in place and tested, the trenches are filled, and the area is restored as much as possible to its original condition.
Types of Installation Methods
- Trenching: The most common method, involving digging a continuous trench.
- Directional Drilling: Used to go under obstacles like roads, driveways, or landscaping without extensive digging. This is often preferred for its minimal impact on the surface.
- Plow Installation: A specialized plow pulls the pipe through the ground, creating a narrow furrow. This is efficient for long, straight runs in open areas.
Step 4: Meter Installation and Inspection
After the lines are laid, the gas meter is installed and everything is checked.
Installing the Gas Meter
- The meter is typically installed on a bracket on the exterior wall of your house.
- It measures the volume of natural gas consumed by your home.
- The utility provider usually owns and maintains the meter.
Inspections and Pressure Testing
- Pressure Test: Before gas is introduced, the new lines are pressurized with air or an inert gas to check for leaks.
- Government/Utility Inspection: In many areas, a final inspection by a local building inspector or a representative from the utility company is required to ensure the installation meets all safety codes and standards.
Step 5: Gas Turn-On and Appliance Connection
This is the final step to start using natural gas.
Turning On the Gas
- Once all inspections are passed, the utility company will schedule a technician to turn on the natural gas supply to your home.
- They will perform a final check of the meter and internal piping for leaks.
- You or a representative must be present during this process.
Connecting Appliances
- Licensed Plumber/Gas Fitter: For safety and code compliance, it is essential to have a qualified and licensed plumber or gas fitter connect your appliances (furnace, water heater, stove, dryer, fireplace, etc.) to the newly installed gas line.
- Appliance Conversion: If you are switching from propane to natural gas, your appliances may need to be converted to use natural gas. This involves changing specific components (like orifices) on each appliance. A qualified technician will perform this propane to natural gas conversion.
Natural Gas Hookup Cost: What to Expect
The natural gas hookup cost can vary significantly depending on several factors.
Factors Influencing Cost
- Distance from the Main Line: The longer the gas line extension needed, the higher the cost.
- Terrain and Obstacles: Difficult terrain, rocky soil, or the need for directional drilling will increase installation costs.
- Existing Infrastructure: If there’s already a stub-out or existing infrastructure near your property line, it can reduce the cost.
- Utility Company Policies: Each utility provider has its own pricing structure for new connections. Some may offer a free initial connection up to a certain distance, while others charge for the entire gas line extension.
- Contractor Fees: If you hire an independent contractor for the residential gas line installation or internal piping, their fees will add to the overall cost.
- Appliance Conversion: The cost of converting appliances from propane to natural gas can also add to the initial investment.
Typical Cost Breakdown
While specific numbers are hard to provide without knowing your location and utility provider, here’s a general idea of what might be included in the natural gas hookup cost:
| Cost Component | Description | Estimated Range (USD) |
|---|---|---|
| Service Connection Fee | Basic fee charged by the utility provider to establish service. | $0 – $500 |
| Gas Line Extension | Cost for laying the pipe from the main to your house. This is highly variable. | $500 – $5,000+ |
| Meter Installation | Fee for installing the gas meter. Often included in connection fee or installation cost. | $0 – $300 |
| Permits and Inspections | Fees for necessary local permits and inspections. | $100 – $500 |
| Internal Piping | Cost for running pipes from the meter to your appliances. | $500 – $3,000 |
| Appliance Conversion (if any) | Cost to modify appliances for natural gas use. | $100 – $500 per appliance |
| Restoration Work | Cost to repair landscaping, driveways, etc., after excavation. | $200 – $1,000 |
| Total Estimated Cost | A rough estimate, can vary widely. | $1,300 – $10,000+ |
Note: These are rough estimates and can fluctuate significantly based on location and specific project needs.
Potential Rebates and Incentives
Many utility companies offer rebates or incentives for new natural gas connections or for installing high-efficiency natural gas appliances. It’s worth inquiring about these when you contact your natural gas utility provider.
Important Considerations
Beyond the basic connection, there are other things to keep in mind.
Choosing Your Appliances
- When planning your natural gas hookup, consider the appliances you intend to use. Natural gas furnaces, water heaters, stoves, ovens, and dryers are common.
- If you’re converting from propane, ensure your existing appliances are compatible or can be converted. Some older appliances may not be suitable for conversion.
Safety First
Natural gas is a safe and reliable energy source when handled properly.
- Always use qualified professionals for all aspects of natural gas line installation, appliance hookups, and conversions.
- Install Carbon Monoxide Detectors: It’s crucial to have working carbon monoxide detectors on every level of your home, especially near sleeping areas, as natural gas combustion can produce this odorless, colorless gas.
- Know What to Do in Case of a Leak: If you smell the distinct “rotten egg” odor (a safety additive called mercaptan), leave the area immediately and call your natural gas utility provider or emergency services from a safe location. Do not use any electrical switches, appliances, or phones inside the affected building.
Propane to Natural Gas Conversion Specifics
If you currently use propane, the transition to natural gas can be appealing due to potential cost savings and the convenience of not needing a propane tank refill.
Why Convert?
- Cost Savings: Natural gas prices are often more stable and lower than propane prices, especially in areas with robust natural gas infrastructure.
- Convenience: No more tank refills or worrying about running out of fuel.
- Environmental Benefits: Natural gas burns cleaner than propane, producing fewer emissions.
The Conversion Process
The process is similar to a new connection, but with added steps for appliance adaptation.
- Confirm Natural Gas Availability: This is the same as outlined above.
- Schedule Service: Contact your natural gas utility provider.
- Line Installation: The natural gas line installation and meter setup proceed as normal.
- Appliance Conversion: This is the critical difference. A licensed professional will need to:
- Assess your existing propane appliances.
- Replace or adjust internal components (like the gas pressure regulator and burner orifices) to match the lower pressure and different composition of natural gas.
- Ensure proper ventilation for all converted appliances.
- Decommission Propane Tank: Once the natural gas is operational and you’ve confirmed your appliances are working correctly, you can arrange for your propane tank to be removed.
Considerations for Conversion
- Appliance Age: If your propane appliances are old, it might be more cost-effective to replace them with new, energy-efficient natural gas models rather than converting.
- Professional Expertise: Ensure the technician performing the propane to natural gas conversion is experienced and certified.
Frequently Asked Questions (FAQ)
Q1: How long does it take to get natural gas connected?
A1: The timeline can vary greatly. It can take anywhere from a few weeks to several months, depending on the utility company’s backlog, the complexity of the natural gas line installation, permitting processes, and the availability of technicians. It’s best to start the process well in advance of when you need the service.
Q2: Can I install the gas lines myself?
A2: No, for safety and legal reasons, you cannot perform the natural gas line installation or connect appliances yourself. This work must be done by qualified and licensed professionals affiliated with or approved by your natural gas utility provider.
Q3: What if my home is far from the main gas line?
A3: If your home is significantly far from an existing underground gas line, the cost for the gas line extension can be substantial. In some cases, the utility company may require potential customers in a new area to share a portion of the extension cost, or they may offer incentives if enough neighbors also sign up for service.
Q4: Who pays for the gas line installation?
A4: Typically, the natural gas utility provider covers the cost of installing the service line from the main in the street to your property line or meter location, sometimes with a limit on the distance. You will generally be responsible for the cost of the piping from the meter into your home to your appliances, as well as any necessary appliance conversions. However, policies vary, so always confirm with your specific provider.
Q5: What if I smell gas?
A5: If you smell gas (like rotten eggs), leave your home immediately. Do not turn lights on or off, use your phone, or operate any appliances. Once you are a safe distance away, call your natural gas utility provider or 911.
Q6: Do I need to be home when they install the gas meter or turn on the gas?
A6: Yes, someone over 18 must be present when the meter is installed and when the natural gas is turned on for the first time to ensure safety and proper setup.
Q7: What happens to my old heating system if I switch to natural gas?
A7: If you’re switching your primary heating source, such as from electric or oil to natural gas, you will need to have a natural gas furnace or boiler installed by a qualified HVAC professional. Your old system can then be decommissioned.
Getting natural gas to your home is a structured process that, while requiring some time and investment, ultimately provides a reliable and efficient energy source for your household. By following these steps and working with your natural gas utility provider, you can successfully secure a natural gas connection for your home.