
Can you package homemade granola bars for sale? Yes, you can package homemade granola bars for sale, but you need to make sure your packaging is food-safe, keeps them fresh, and looks appealing to customers. This guide will walk you through everything you need to know about the best ways to package your delicious homemade granola creations, from keeping them fresh to making them look extra special.
Homemade granola bars are a fantastic snack. They’re healthy, customizable, and taste so much better than store-bought. But once you’ve baked a big batch, the next big question is: how do you keep them fresh and present them beautifully? Proper packaging is key to both preserving their yummy goodness and making them an attractive treat for yourself, friends, family, or even for selling.
Let’s dive into the wonderful world of granola bar wrapping and discover easy and cute ways to package your homemade goodies. We’ll cover everything from simple, everyday solutions to more elaborate ideas for special occasions or if you’re thinking about sharing or selling your creations.
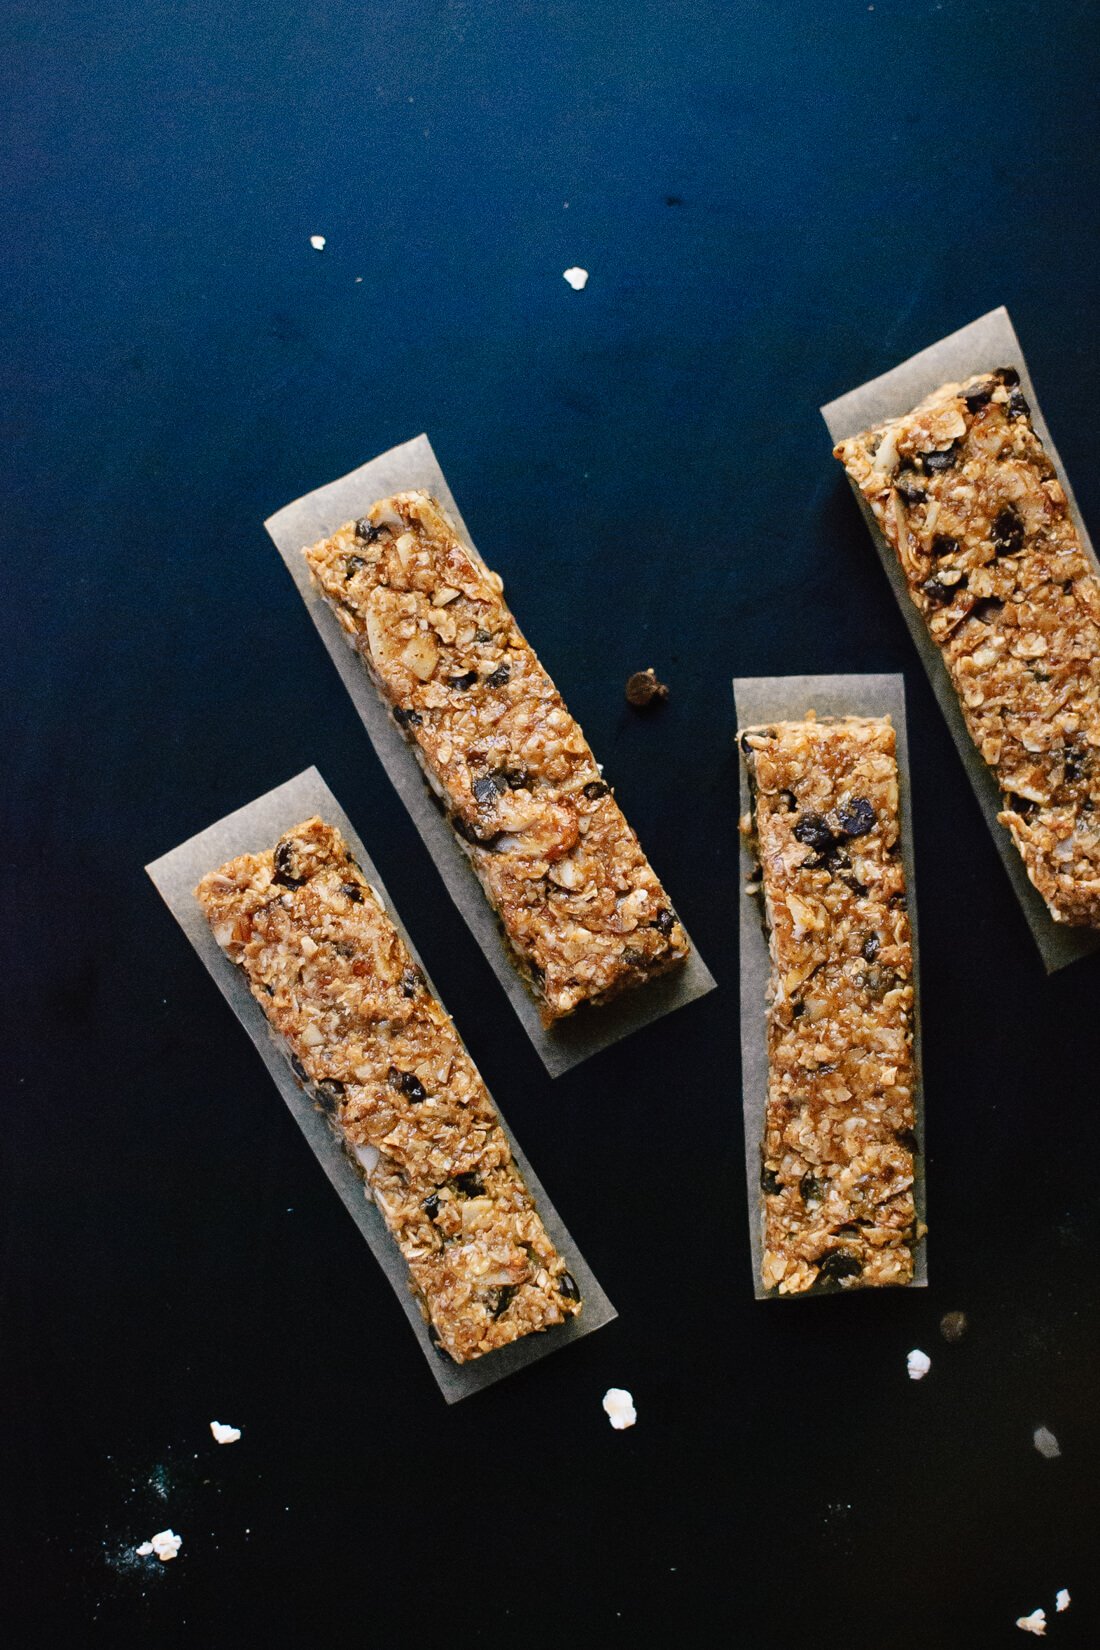
Image Source: cookieandkate.com
Why Good Packaging Matters for Homemade Granola Bars
Before we get to the fun part – the cute packaging – let’s talk about why good packaging is so important.
- Freshness is King: Granola bars can go stale or lose their texture quickly if not stored properly. Good packaging prevents them from drying out or becoming too soft.
- Protection: Packaging protects your bars from damage during transport or storage.
- Appeal: Let’s face it, we eat with our eyes first! Attractive packaging makes your granola bars look more desirable.
- Convenience: Pre-packaged bars are easy to grab and go, perfect for lunchbox friendly granola snacks.
- Food Safety: If you plan to share or sell, using food-safe materials is essential.
Simple & Effective Granola Bar Wrapping Ideas
Sometimes, the simplest solutions are the best. These methods are quick, easy, and effective for keeping your granola bars fresh and ready to eat.
Cellophane Bags: The Classic Choice
Cellophane bags are a go-to for many bakers, and for good reason. They offer a clear view of your delicious bars and provide a good barrier against moisture.
- How it works: Simply slide your cooled granola bar into a clear cellophane bag.
- Sealing: You can seal them using:
- Heat Sealer: For a professional, secure seal. This ensures airtight granola bar storage.
- Twist Ties: Colorful twist ties add a touch of whimsy and are easy to use.
- Stickers: Custom stickers or simple decorative ones can seal the bag and add branding.
- Pros: Inexpensive, readily available, allows customers to see the product, good moisture barrier.
- Cons: Can sometimes tear easily, not always the most eco-friendly option (look for compostable cellophane).
Parchment Paper or Wax Paper: The Eco-Friendly Favorite
For a more rustic and eco-conscious approach, parchment paper or wax paper is a fantastic choice for granola bar wrapping.
- How it works: Cut a piece of parchment or wax paper large enough to wrap around your bar. Place the bar in the center and fold the paper around it like a present.
- Sealing:
- Stickers: A nice sticker will hold the paper in place.
- Twist Ties: Can also be used to secure the folded paper.
- String or Twine: Adds a charming, handmade feel.
- Pros: Biodegradable and compostable (check if wax paper is truly wax-coated or paraffin, as some are not as eco-friendly), gives a natural look, affordable.
- Cons: Not completely airtight, so for longer storage or humid environments, you might want an extra layer.
Individual Wraps with a Twist
Want to make each bar feel like a special treat? Individual wrapping is the way to go.
Foil Wrappers: Old School Charm
Aluminum foil is excellent for sealing homemade granola and keeping out light and moisture.
- How it works: Similar to parchment paper, cut foil pieces large enough to wrap your bars snugly.
- Sealing: Fold the edges tightly to create a good seal.
- Pros: Excellent barrier against light and moisture, can be molded to fit the bar.
- Cons: Not transparent, so customers can’t see the bar. Less environmentally friendly.
Waxed Paper Wraps with Decorations
Combine the goodness of waxed paper with a creative flair.
- How it works: Use parchment or wax paper as your base wrap. Before folding, add a decorative element.
- Decorations:
- Stamps: Stamp a pattern or your logo onto the paper.
- Drawings: Use food-safe markers to draw designs.
- Washi Tape: A strip of cute washi tape can add color and secure the wrap.
- Pros: Personalizable, adds a handmade touch, relatively eco-friendly if using unbleached parchment.
- Cons: Seal might not be completely airtight without an additional step.
Cute & Creative Packaging Options for Granola Bars
Ready to elevate your granola bar packaging from functional to fabulous? These ideas add extra charm and personality.
DIY Kraft Paper Wraps
Kraft paper offers a natural, artisanal look that’s very popular.
- How it works: Cut pieces of kraft paper to size.
- Elevating the Look:
- Stamping: Use a rubber stamp with your logo, a simple pattern, or a “Homemade” message.
- Bakers Twine: Tie a piece of bakers twine around the wrapped bar for a rustic touch.
- Small Tags: Attach a small cardstock tag with ingredients, a thank you note, or baking instructions.
- Sealing: Use a sticker or the twine to secure.
- Pros: Trendy, natural look, customizable, good for branding.
- Cons: Not transparent.
Small Boxes or Treat Boxes
For a more polished presentation, especially if you’re gifting or selling, small boxes are perfect.
- How it works: Place one or two granola bars inside a small, food-safe box.
- Box Styles:
- Window Boxes: These have a clear cellophane window, allowing the bars to be seen.
- Solid Boxes: Great for when you have decorated the bars or want a uniform look.
- Favor Boxes: Often come with ribbons or tie closures.
- Customization:
- Ribbons: Tie a ribbon around the box for a festive feel.
- Labels: Design custom labels to stick on the box.
- Pros: Protects bars well, looks professional, offers a good canvas for branding.
- Cons: Can be more expensive than individual wraps.
Gusset Bags with Clear Fronts
These stand-up bags are great for displaying your bars and offer excellent airtight granola bar storage.
- How it works: Place your granola bars into the bag.
- Sealing: Use a heat sealer for the best results to ensure sealing homemade granola effectively. You can also fold the top down and use a sticker or a bag clip.
- Pros: Professional look, allows product visibility, excellent for storage, stands up on its own.
- Cons: Might be overkill for just a few bars, requires a heat sealer for optimal sealing.
Mason Jar Packaging: For Bulk or Layered Goodness
While not for individual bars, mason jars are a fantastic way to package bulk granola bar packaging or to showcase a collection of granola bar pieces.
- How it works: Layer granola bars (or pieces of bars) in a clean mason jar. You can even add layers of yogurt or fruit for a parfait-style treat if intended for immediate consumption.
- Sealing: Screw on the lid tightly.
- Pros: Reusable, looks charming, great for gifting, keeps contents very fresh.
- Cons: Not ideal for individual, grab-and-go bars.
Edible Packaging: A Novel Concept!
While not practical for all granola bars, edible granola bar packaging is a fun and eco-friendly concept to explore for very specific situations.
- The Idea: Think of a thin, edible wafer or a sugar cookie base that can wrap around or hold a portion of granola mixture before baking.
- Practicality: This is more of an advanced baking technique. You’d need to ensure the edible “wrapper” bakes correctly alongside the granola bar and doesn’t become soggy or burn.
- Example: Imagine a very thin, crisp gingerbread or a wafer biscuit shaped into a small cup or sleeve to hold a dense granola mixture.
- Pros: Zero waste, completely edible, very unique.
- Cons: Highly experimental, challenging to execute perfectly, limited shelf life, may affect the texture of the granola bar.
Tips for Perfect Granola Bar Packaging
No matter which method you choose, here are some essential tips to ensure your packaging options granola are a success.
Cool Completely
This is the MOST important step! Never wrap warm granola bars. They will release steam, which creates condensation inside the packaging, leading to sogginess and potential mold. Let them cool entirely on a wire rack.
Cut Uniformly
Consistent sizing makes packaging much easier and ensures each bar fits neatly into its wrap or box.
Consider Your Audience
- For Kids’ Lunchboxes: Individual, easy-to-open wraps (like cellophane or parchment with a sticker) are best. Bright colors and fun designs are a plus.
- For Gifts: Nicer boxes, ribbons, and custom tags add a special touch.
- For Selling: Prioritize food-safe materials, clear ingredient lists, and professional-looking branding. Individual granola bar wraps that are heat-sealed offer the best shelf life and safety.
Labeling is Key
Even if you’re just sharing with friends, a small label can make a big difference. Include:
- Product Name: “Homemade Chewy Granola Bars”
- Key Ingredients: (e.g., Oats, Honey, Almonds, Dried Cranberries)
- Date Made: Helps with freshness tracking.
- Storage Instructions: (e.g., “Store in an airtight container at room temperature for up to 5 days.”)
- Allergen Information: Crucial if selling or sharing with anyone with allergies (e.g., “Contains nuts, gluten, dairy.”)
Material Choice Matters
- Food-Grade: Always use materials specifically designed for food contact.
- Barrier Properties: Consider how well the material protects against moisture, air, and light. For longer shelf life, aim for materials that offer good airtight granola bar storage.
Storing Homemade Granola
Proper storing homemade granola (and granola bars) is as crucial as the packaging itself.
- At Room Temperature: Well-packaged granola bars can often be stored at room temperature for up to a week. This is ideal for bars with honey or maple syrup as binders. Ensure they are in an airtight container or individually sealed.
- In the Refrigerator: If your bars contain ingredients that spoil quickly (like fresh fruit or dairy), or if you live in a very warm climate, refrigeration is a good idea. This will also make them firmer. Store them in an airtight container.
- Freezing: Granola bars freeze exceptionally well! Wrap them individually (cellophane or parchment works well) and then place them in a freezer-safe bag or container. They can last for several months in the freezer. Thaw them at room temperature or in the refrigerator.
Beyond the Wrap: Making Your Granola Bars Stand Out
The way you present your granola bars can be just as impactful as the flavor.
Color Coordination
Use colored twine, ribbons, or tissue paper to match your brand or a specific theme (e.g., red and green for holidays).
Texture Play
Combine different packaging textures – a smooth cellophane bag with a rustic kraft tag and twine.
Layering for Impact
If using boxes or larger bags, you can layer the individually wrapped bars with a bit of colorful tissue paper or crinkle-cut paper shred.
Putting It All Together: Examples of DIY Granola Bar Packaging
Let’s visualize some of these ideas:
Scenario 1: Everyday Snacking
- Method: Individual cellophane bags.
- Sealing: Heat sealer or a colorful sticker with your initial.
- Why it works: Quick, keeps bars fresh, easy to grab and go.
Scenario 2: Gifting to a Friend
- Method: Wrap each bar in parchment paper, tie with bakers twine.
- Presentation: Place 3-4 wrapped bars in a small kraft paper bag, tie the bag with a ribbon, and attach a tag with a “Thank You” message.
- Why it works: Charming, personal, and shows effort.
Scenario 3: Selling at a Farmers Market
- Method: Individual heat-sealed cellophane bags.
- Labeling: Clear labels with product name, ingredients, allergens, and your business name/logo.
- Presentation: Place 2-3 bars in a small window box or a stand-up gusset bag.
- Why it works: Professional, food-safe, maximizes shelf life, and meets selling regulations.
Frequently Asked Questions (FAQ)
Q1: How long do homemade granola bars last?
A1: Properly packaged and stored at room temperature, most homemade granola bars last about 5-7 days. Refrigerated, they can last up to 2 weeks. Frozen, they can last for 2-3 months. Always check for freshness by smell and appearance.
Q2: Can I use plastic wrap to package granola bars?
A2: While plastic wrap can provide a barrier, it’s often not as effective for airtight granola bar storage as other materials and can sometimes impart a plastic taste. Heat-sealed cellophane or specialized food-grade plastic bags are better alternatives if you prefer plastic.
Q3: What is the best way to package granola bars for shipping?
A3: For shipping, prioritize robust packaging. Individually wrap each bar securely (heat-sealed cellophane is ideal). Then, place them in a sturdy box, using packing peanuts or bubble wrap to prevent movement. Consider including a small ice pack if shipping in warm weather, though this adds complexity and cost.
Q4: Do I need a special sealer for granola bar packaging?
A4: A heat sealer is excellent for a professional and airtight seal, especially for cellophane or plastic bags, ensuring good sealing homemade granola. However, for DIY granola bar packaging, stickers, twist ties, and careful folding of parchment or wax paper can also work well for shorter storage periods.
Q5: Are there any edible granola bar packaging options I can try at home?
A5: While more experimental, you could try shaping a thin, crisp sugar cookie or a wafer into a small sleeve or cup to hold a dense granola mixture before baking. This is a novel approach but requires careful recipe testing to ensure the wrapper bakes properly and doesn’t affect the granola bar’s texture.
Q6: What are good packaging options granola bars for a bake sale?
A6: For bake sales, individual cellophane bags with a nice sticker or tag are popular. Small window boxes or cello bags with a printed label showing your ingredients are also excellent choices. They look appealing and provide basic protection.
The art of packaging homemade granola bars is a delightful way to add value and flair to your creations. Whether you’re aiming for practicality, beauty, or both, these easy and cute ideas will help your delicious granola bars shine! Happy packaging!