
Yes, you absolutely can (and should!) winterize your raised bed garden. Proper raised bed preparation for winter is crucial for protecting your valuable garden soil amendment and ensuring a healthy, productive garden next spring. This guide will walk you through simple, effective steps to protect raised beds from the harsh elements, helping you extend the growing season and make next year’s gardening easier.
Winterizing your garden might seem like a chore, but it’s a vital part of cold weather gardening and winter garden maintenance. It’s about more than just tidying up; it’s about actively nurturing your soil and protecting your investment. By taking a few proactive steps now, you’ll reap significant rewards when spring arrives. Think of it as giving your garden a cozy blanket for the cold months.
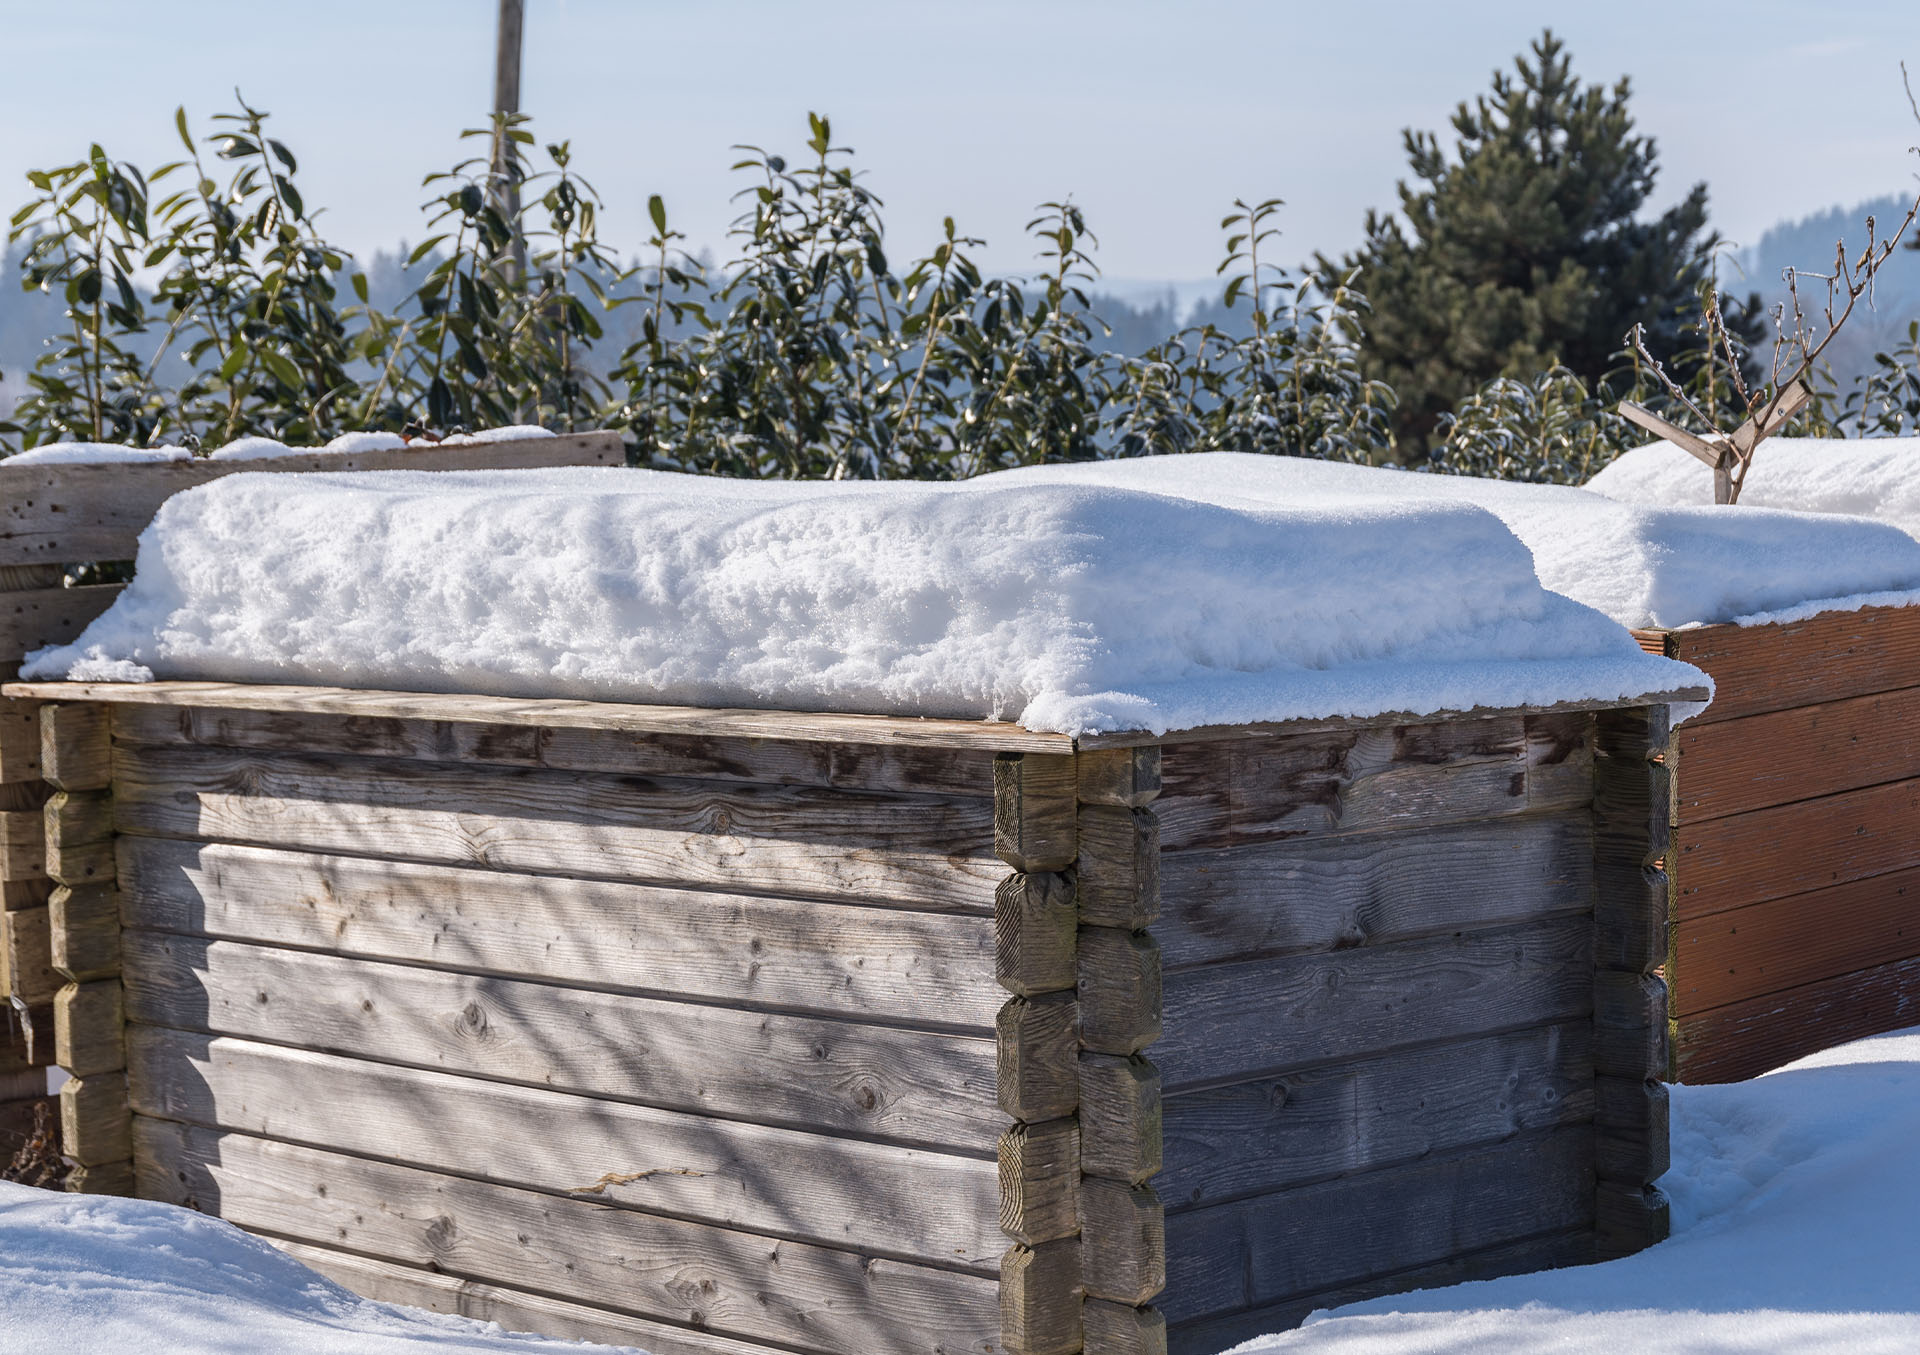
Image Source: primexgardencenter.com
Why Winterizing Your Raised Beds Matters
Raised beds offer many advantages, from better drainage to easier access. However, they are also more exposed to the elements than in-ground gardens. Winter can bring freezing and thawing cycles, heavy snow, and drying winds, all of which can damage your soil structure and harm beneficial organisms.
- Soil Health: Winterizing helps maintain the structure and fertility of your soil. It prevents erosion and nutrient loss.
- Pest and Disease Control: Removing diseased plant material and debris reduces overwintering sites for pests and pathogens.
- Ease of Spring Planting: A well-prepared bed means less work and more success when planting season begins.
- Extending Growing Season: Some winterizing techniques can even pave the way for early spring planting or provide opportunities for cold weather gardening with certain crops.
Step-by-Step Winterizing Guide for Raised Beds
Let’s break down the process into manageable steps to protect raised beds effectively.
Step 1: Clean Out Debris and Old Plants
This is the first and most important step in fall garden prep. Remove all spent plants, fallen leaves, and any other organic debris from your raised beds.
- Diseased Plants: If you had any plants affected by disease, dispose of them in the trash, not in your compost bin. This prevents the disease from spreading next year.
- Healthy Plants: Healthy plant material can be added to your compost pile. However, it’s often best to remove as much as possible to reduce overwintering pests.
- Weeds: Pull any weeds that have managed to pop up. This prevents them from going to seed and causing trouble in the spring.
Why this is crucial: Leaving old plant matter can harbor pests and diseases that will emerge with the warmer weather. A clean bed is a healthy start.
Step 2: Address Soil Issues and Amendments
After clearing the beds, it’s time to think about your soil. This is where garden soil amendment comes into play.
H3: Assessing Your Soil
- Soil Testing: If you haven’t done so recently, consider a soil test. This will tell you about your soil’s pH and nutrient levels. Winter is a great time to get this done, as you’ll have results back in time for spring planting.
- Soil Structure: Has your soil become compacted? Raised beds can still compact over time.
H3: Adding Nutrients and Improving Structure
- Compost: Add a generous layer of compost. Compost is a miracle amendment that improves soil structure, fertility, and water retention. It’s like a vitamin boost for your soil.
- Aged Manure: Well-rotted manure is another excellent soil amendment. Ensure it is fully composted to avoid burning plant roots.
- Leaf Mold: Decomposed leaves are a fantastic, nutrient-rich soil conditioner.
- Cover Crops: This is a fantastic way to improve your soil over winter. Planting a cover crop like crimson clover, rye, or vetch adds organic matter, suppresses weeds, and can even fix nitrogen in the soil.
What are cover crops? Cover crops are plants grown specifically to benefit the soil. They are typically tilled back into the soil before they go to seed.
Can I plant cover crops late in the season? Yes, depending on your climate. Some hardy varieties can be sown in fall. Research what grows best in your region for late planting.
H4: Applying Amendments
- Top Dressing: Simply spread your chosen amendments over the surface of the soil.
- Lightly Incorporating: You can gently fork in amendments if your soil is very compacted, but avoid heavy tilling, which can damage soil structure. For raised beds, often just leaving amendments on the surface is best. Earthworms and beneficial microbes will do the work of incorporating them over the winter.
Step 3: Mulching Your Raised Beds
Mulching is a key step in protecting raised beds. A good layer of mulch insulates the soil, conserves moisture, and suppresses weeds.
H4: Types of Mulch for Winter
- Straw: An excellent, affordable option that provides good insulation.
- Shredded Leaves: Free and readily available if you have deciduous trees. They break down nicely over winter.
- Wood Chips/Bark: Durable and long-lasting, but may take longer to break down.
- Compost: A thick layer of compost also acts as mulch and will continue to feed the soil.
H4: How to Mulch
- Depth is Key: Apply a layer of mulch that is at least 2-4 inches deep. This provides adequate insulation.
- Avoid Covering Plants: If you are leaving any hardy plants or cover crops in the beds, ensure the mulch doesn’t completely smother them. Leave some breathing room around the stems.
What is mulch? Mulch is a layer of material applied to the surface of soil. Its purpose is to retain moisture in the soil, improve the health and appearance of the soil, and reduce the growth of weeds.
When should I mulch? It’s best to mulch after the ground has cooled down but before the harshest frosts arrive.
Step 4: Covering Raised Beds
While mulch insulates, an additional cover offers even more frost protection and prevents erosion from heavy rains or snowmelt.
H5: Options for Covering
- Tarps or Plastic Sheeting: Securely fasten a tarp or plastic sheeting over the beds. This is very effective at keeping moisture out and preventing soil compaction from foot traffic or heavy snow. Ensure it’s well-anchored to prevent wind damage.
- Row Covers (Floating Row Covers): These breathable fabrics can be draped over hoops or directly onto the soil. They offer some insulation and protection from frost and pests.
- Old Blankets or Burlap: For smaller beds or specific plants you want to protect, old blankets or burlap can be used.
H5: Securing Covers
- Weights: Use bricks, rocks, or sandbags to hold down tarps and sheeting.
- Stakes: If using hoops or frames, secure the covering to them.
- Overlap: Ensure that any seams or edges overlap generously to prevent wind and water from getting underneath.
How do I cover raised beds to protect them? You can use tarps, plastic sheeting, row covers, or even old blankets secured with weights or stakes.
Can I use greenhouse plastic? Yes, greenhouse plastic can be an excellent option for covering raised beds. It’s durable and allows some light penetration, which can be beneficial.
Step 5: Protecting the Raised Bed Structure Itself
Don’t forget the material your raised beds are made of!
- Wooden Beds: If you have wooden raised beds, consider treating the exterior with a non-toxic sealant or stain. This will help prevent rot and extend the life of the wood, especially in damp winter climates.
- Metal Beds: Metal beds are generally durable, but ensure there are no sharp edges exposed that could be a hazard.
- Plastic/Composite Beds: These are usually low-maintenance, but check for any cracks or damage.
Step 6: Planning for Next Season
Winter is also a great time to plan for the next growing season.
- Crop Rotation: Think about which crops you’ll plant where. This helps prevent soil-borne diseases and nutrient depletion.
- New Ideas: Research new vegetables or flowers you might want to try.
- Seed Ordering: Many gardeners order seeds during the winter to get the best selection before popular varieties sell out.
Winterizing Specific Raised Bed Scenarios
The best approach to winterizing can vary slightly based on your climate and what you plan to do with your beds over winter.
H3: Beds for Overwintering Crops
If you’re engaging in cold weather gardening and have crops like kale, spinach, or garlic planted, your winterizing will focus on frost protection.
- Mulch Generously: Apply a thick layer of straw or shredded leaves around the base of your plants.
- Row Covers or Cold Frames: Use floating row covers or a cold frame to create a microclimate that protects plants from the harshest temperatures and allows you to harvest through much of the winter.
H3: Empty Beds
Empty beds are prime candidates for adding amendments and protection.
- Heavy Mulch: Cover with 4-6 inches of straw, shredded leaves, or compost.
- Cover with Tarps: A secured tarp offers excellent protection against erosion and compaction.
H3: Beds for Spring Cover Cropping
As mentioned earlier, cover crops are excellent for fall garden prep.
- Sow Early: Get your cover crop seeds sown in early fall.
- Water if Dry: Ensure the seeds have enough moisture to germinate.
- Winter Protection: Once established, they can withstand winter conditions. You’ll till them in come spring.
Benefits of Winterizing for Extending the Growing Season
While winterizing is primarily about protection, it can also contribute to extending the growing season.
- Earlier Spring Start: By protecting your soil from harsh freeze-thaw cycles, you can often get into your beds a week or two earlier in spring. The soil will be healthier and more workable.
- Fall Planting Success: Proper winterizing ensures that fall-planted crops have a better chance of survival and vigorous growth.
- Cover Crop Benefits: Cover crops not only improve soil but can also be managed to provide early-season forage or be incorporated early enough to allow for a very early planting of cool-season crops.
What Not To Do When Winterizing Raised Beds
- Don’t Leave Bare Soil: Bare soil is vulnerable to erosion and nutrient loss.
- Don’t Forget Diseased Material: Improper disposal can lead to recurring problems.
- Don’t Over-Amend: While amendments are good, overdoing it can create imbalances. Stick to compost and well-rotted organic matter.
- Don’t Compact the Soil: Avoid walking on your beds after they are wet or covered, especially if the covering is not fully robust.
Summary of Winterizing Tasks for Your Raised Beds
| Task | Description | Key Benefits |
|---|---|---|
| Clean Out Debris | Remove all spent plants, weeds, and fallen leaves. | Prevents pests/diseases, reduces competition. |
| Add Soil Amendments | Incorporate compost, aged manure, or leaf mold. Consider planting cover crops. | Improves soil structure, fertility, and health. |
| Mulch Beds | Apply a 2-4 inch layer of straw, leaves, wood chips, or compost. | Insulates soil, conserves moisture, suppresses weeds. |
| Cover Beds (Optional) | Use tarps, plastic sheeting, or row covers to further protect from elements. | Prevents erosion, keeps soil drier, provides extra frost protection. |
| Inspect Bed Structure | Treat wooden beds; check for damage on other materials. | Extends the life of your raised beds. |
| Plan for Next Season | Research crops, plan rotations, order seeds. | Ensures a successful and organized gardening season ahead. |
Frequently Asked Questions (FAQ)
Q1: Do I really need to winterize my raised beds?
A1: Yes, it’s highly recommended. Winterizing protects your soil, prevents erosion, reduces overwintering pests and diseases, and prepares your beds for a more successful growing season next year. It’s a crucial part of winter garden maintenance.
Q2: Can I plant anything in my raised beds over winter?
A2: In many climates, you can plant hardy crops like garlic, kale, spinach, and certain root vegetables. Proper frost protection through mulching or covers is essential for these crops.
Q3: What is the best mulch to use for winterizing raised beds?
A3: Straw and shredded leaves are excellent, affordable choices for winter mulch. Compost also works well. Aim for a layer of 2-4 inches.
Q4: How do I protect my raised beds from snow and ice?
A4: A good layer of mulch is the first line of defense. For extra protection against heavy snow and freeze-thaw cycles, consider covering the beds with a tarp or plastic sheeting secured with weights.
Q5: Is it okay to leave my raised beds uncovered over winter?
A5: While they will survive, uncovered raised beds are more susceptible to soil erosion from rain and wind, nutrient leaching, and compaction from winter weather. It’s better to provide some form of protection.
Q6: When should I remove winter covers from my raised beds in the spring?
A6: Remove covers gradually as the danger of hard frost passes. If you used tarps, you might remove them completely to let the soil warm up. If you used row covers for frost protection, you can leave them on for a while longer to help with extending the growing season.
By following these simple steps, you can ensure your raised bed garden is well-prepared for winter, setting the stage for another beautiful and bountiful growing season. Happy winterizing!